This document explains how to set up Microsoft Outlook 2016/2019 with MXGuardian Hosted Email. For demonstration purposes, we will be using a fictitious email account: martha@quiltdesigns.com. Please use your actual email address and password in place of this one.
Note: These instructions are only for MXGuardian Hosted Email. If you are using MXGuardian Email Security with your own hosting, you do not need to make any changes to your Outlook settings.
Starting Outlook for the first time and getting MXGuardian Email on Outlook 2016/2019
If you are starting Outlook for the first time and you don’t have any email addresses configured yet, you will see a series of screens that walks you through setting up an email account. Follow these steps if you are setting up Outlook for the first time.
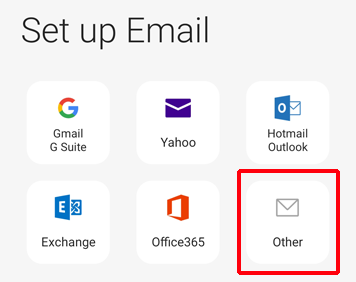
- Open Outlook
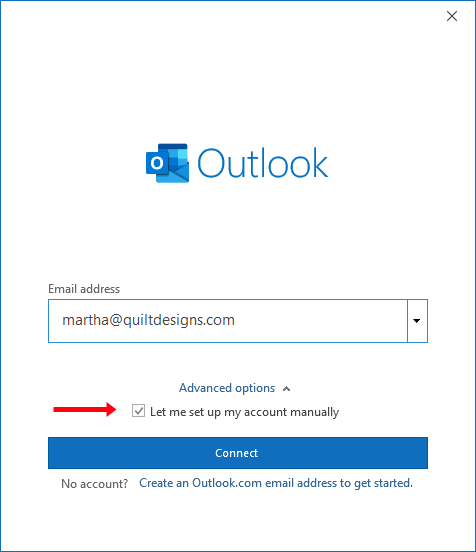
- When the account setup wizard appears, enter your email address and then click “Advanced Options” and select “Let me set up my account manually“
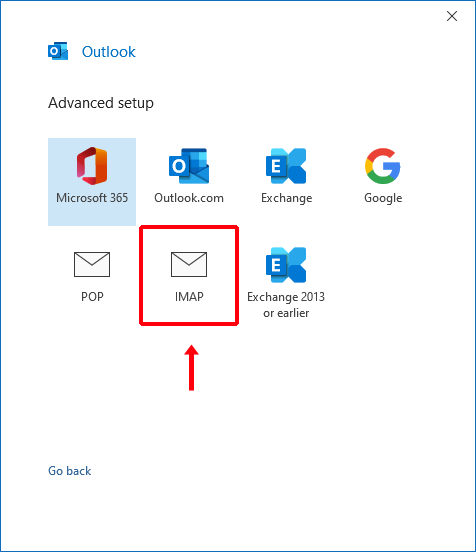
- Select IMAP
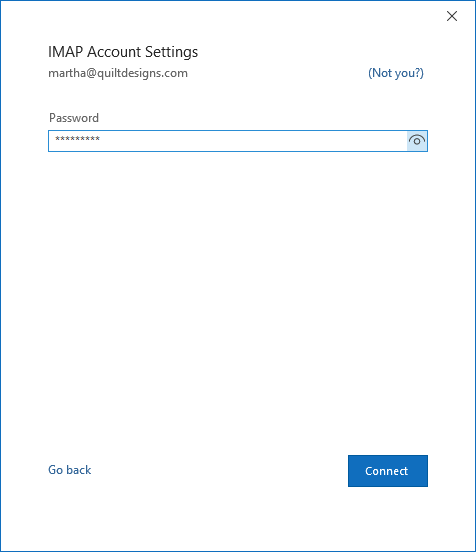
- Enter your account password and click Connect
- Under “Incoming Mail Server”
- Enter the server name “mail.mxguardian.net“
- Select encryption method “SSL/TLS“
- Use port 993
- Under “Outgoing Mail Server”
- Enter the server name “mail.mxguardian.net“
- Select encryption method “SSL/TLS“
- Use port 465
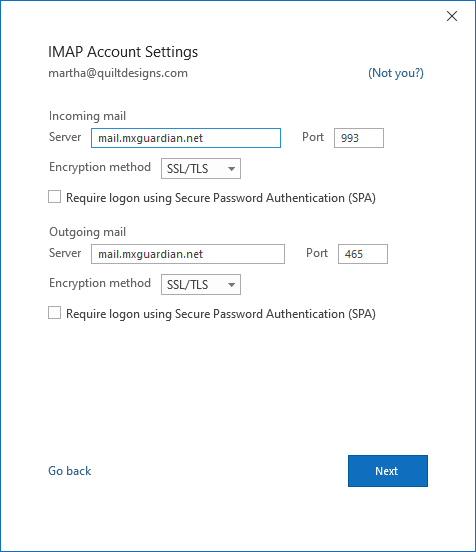
- Click Next
At this point Outlook should open and your account is set up.
Adding a new account to Outlook
If you have used Outlook before or if you have multiple profiles, you may see a different set of screens. In that case, use the following steps to configure your account.
- On the “Add account” screen, select “Manual setup or additional server types” and click Next
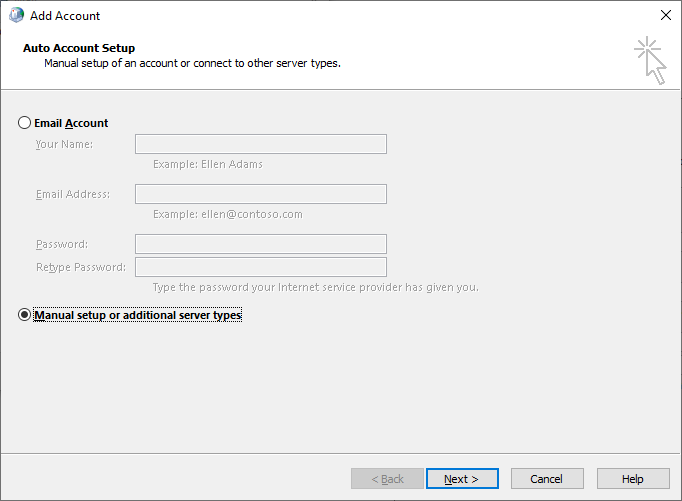
- Select “POP or IMAP” and click Next

- Under “User Information” fill in your name and email address
- Under “Server Information”:
- Select IMAP as the account type
- Enter “mail.mxguardian.net” as both the Incoming and Outgoing mail server
- Under “Logon Information”:
- Enter your email address and password
- Select “Remember password“
- Do NOT select “Require login using Secure Password Authentication (SPA)”
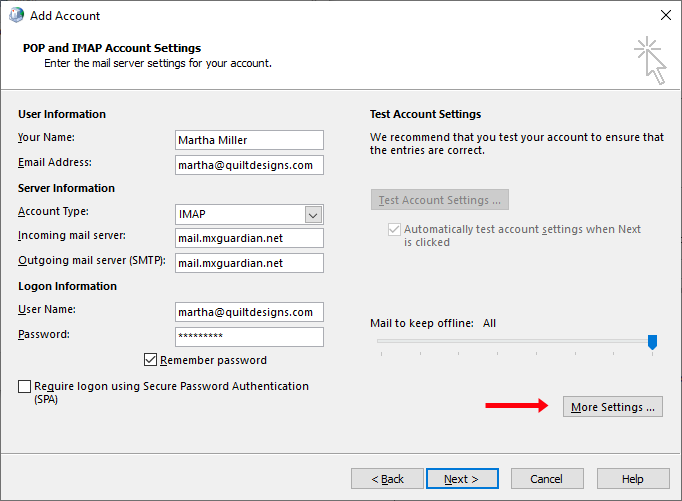
- Click “More Settings“
- On the “Outgoing Server” tab:
- Select “My outgoing server (SMTP) requires authentication“
- Select “Use same settings as my incoming mail server“
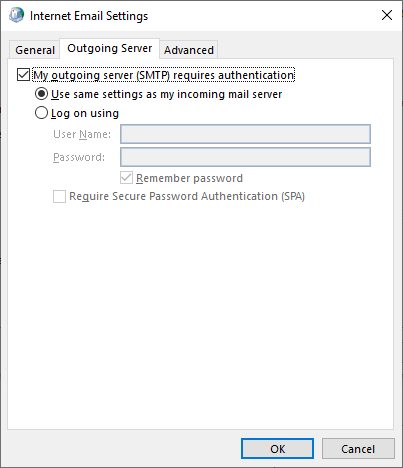
- On the “Advanced” tab:
- Select “SSL/TLS” as the encryption type for both incoming and outgoing
- Set the incoming mail server port number to 993
- Set the outgoing mail server port number to 465

- Click OK
- Click Next
- Click Close
- Click Finish
Outlook is now set up to use your new email account.